When I first moved to Boston, Tom had just started graduate school and I was desperately looking for a permanent job that did not involve me scheduling meetings for over-educated, middle aged, white men, in the steam pipe room, in the bowels of Harvard University (yes, best temp job EVER). This marked the beginning of a five-year slog, of what I understood to be a college graduate worthy career track- making a living in a cubicle and putting up with incompetent, self-important, no good bosses.
It never really occurred to me that the best part of my day was coming home to make dinner. The best part of my week was grocery shopping and Sunday cooking projects. My favorite thing to do was to cook food for my family and friends. When I was home sick with a cold, I would make spiced zucchini bread to stimulate the senses. When the meltdown the day before I took the GRE’s ended in pencil throwing and tears, Tom promptly took me to Whole Foods, and I spent the rest of the day making risotto and stuffed artichokes.
One day, not so long ago, I left the rat maze of cubicles for good. In the world of gastronomy, I’m learning that I can do more with food than just write about it. At the risk of sounding like the ideological, bleeding heart that I am, I believe that we can do good with food. I’m sure that not even Nonna realizes the impact her cooking has had on the people around her. I want to multiply that impact. I’m not ready to share with you my latest project, but here’s a hint: Soup. Lots and lots of soup.
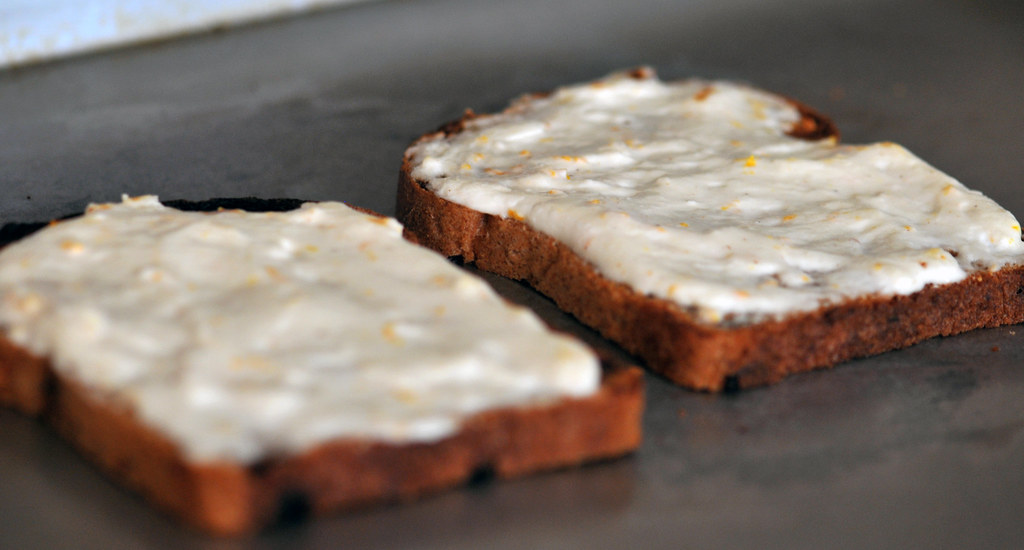
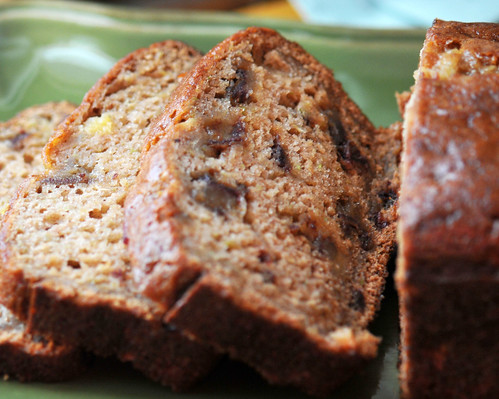
So, the point of all this is simply to remind you to do what you love. And if you have time, make this zucchini bread. Especially if like me, you are currently suffering from, The Cold That Would Not End. It will fill your home with warmth and spices, and will give you something to do with the bounty of zucchinis that are currently taking over the local farmers markets.
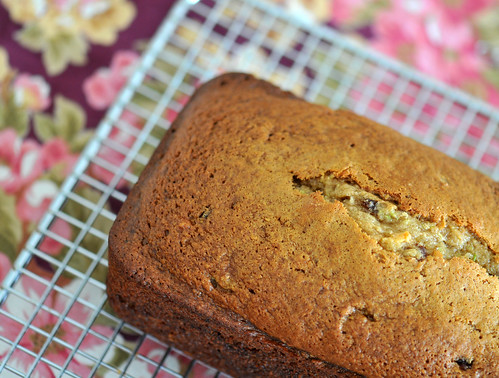
Zucchini Bread
Nonna stumbled across this recipe in a newspaper years ago. I don’t know how Italian it is, but it continues to be a fall staple in three generations of my family’s households.
*Note: Nonna and my mom make this recipe with vegetable oil. I substituted olive oil this past time with wonderful results. Be sure not to use extra virgin olive oil when baking- you will run the risk of turning your batter bitter.
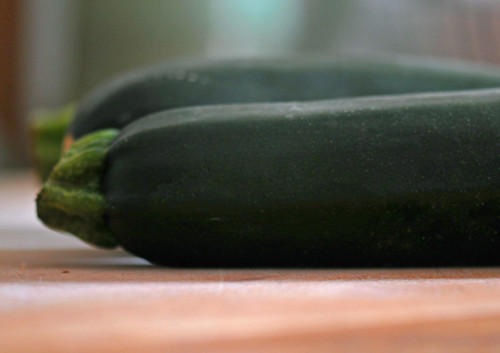
2 cups shredded zucchini
3 eggs
1 cup olive oil
2 cups sugar
2 tsp pure vanilla extract
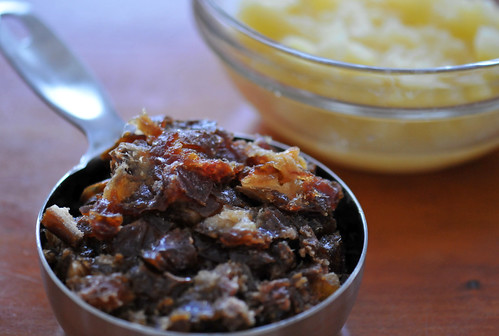
8 oz crushed pineapple drained
3 cups flour
2 tsp baking soda
¼ tsp baking powder
1 tsp salt
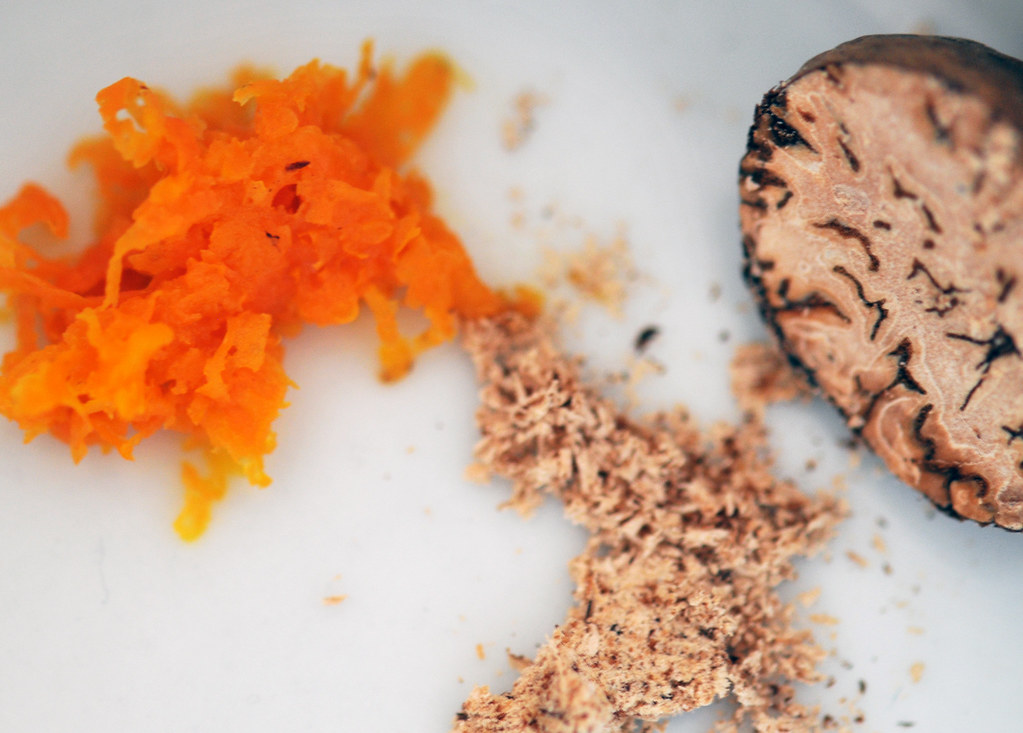
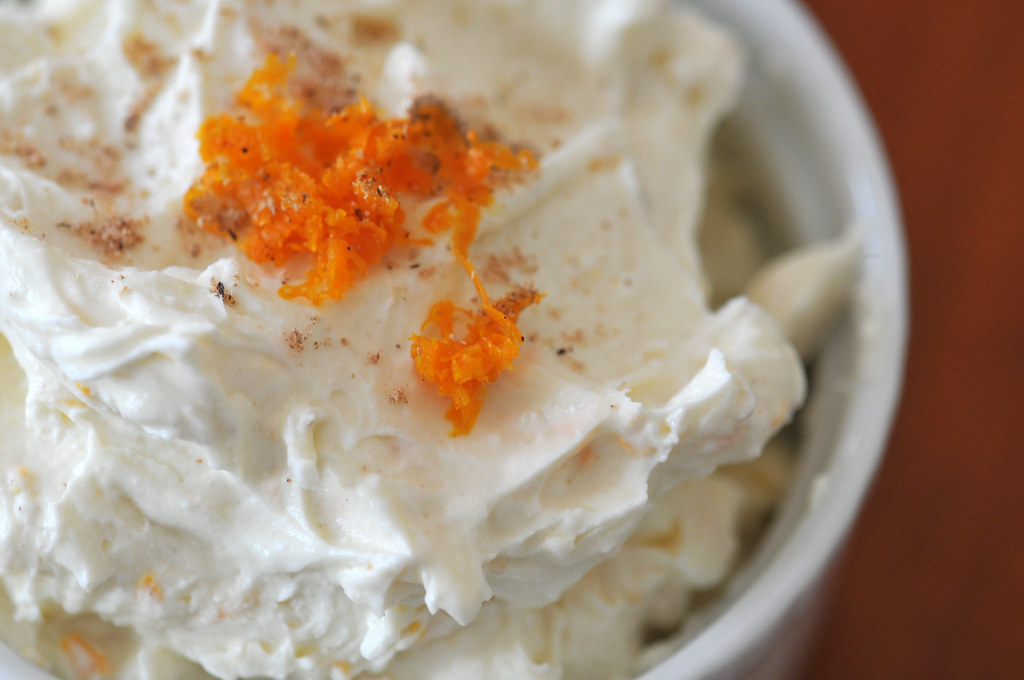
1 ½ tsp cinnamon
¾ tsp nutmeg
1 cup dates, pitted and chopped
1 cup walnuts, chopped
Preheat the oven to 350*
Peal zucchini. Finely chop or pulse in a cuisnart for about 1 minute. Empty zucchini onto a paper towel and let drain.
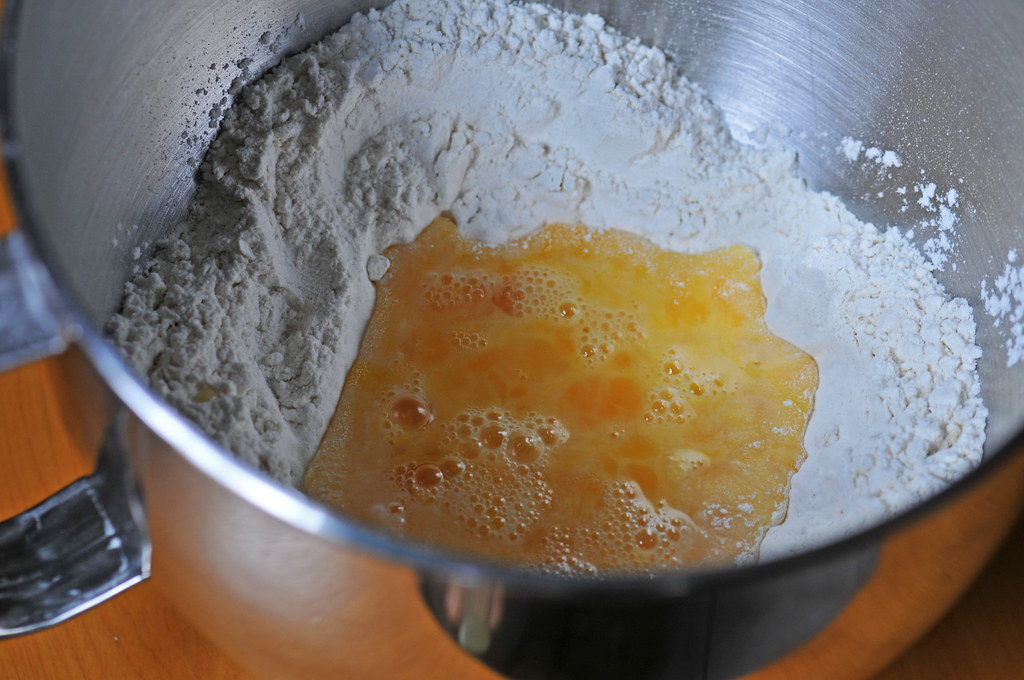
With an electronic mixer, beat together eggs, sugar and vanilla until creamy. Beat in olive oil.
Stir in zucchini and pineapple.
In a separate bowl, whisk together baking soda, baking powder, salt, cinnamon, and nutmeg. Stir into wet ingredients.
Fold in dates and walnuts.
Pour into loaf pans (I usually have enough batter for two).
Bake for 1 hour or until the edges of the bread turn golden brown and start to pull away from the pan.